 how-to
Preventing Snow Blower Engine Failure: 2026 Guide
Table of Contents
- Why Snow Blower Engines Fail (and How to Stop It)
- Snow Blower Maintenance Checklist: Seasonal and Usage-Based Schedule
- Fuel Selection and Snow Blower Fuel Storage
- Snow Blower Oil Change: Intervals and Steps
- Common Causes of Starting Problems and Carburetor Clogs
- When Your Snow Blower Won't Start: Quick Troubleshooting Steps
- Early Warning Signs of Engine Failure and Safety Precautions
- Conclusion: Protect Your Investment with Preventive Care
- Frequently Asked Questions
Last Updated: October 14, 2026
Why Snow Blower Engines Fail (and How to Stop It)
Preventing snow blower engine failure comes down to one habit: care before the storm, not after the breakdown.
Snow blower engines fail for three main reasons: bad fuel, skipped maintenance, and simple neglect. Most of these problems build up quietly during the off-season.
Almost all of it is preventable. Below, we break down what goes wrong, then give you a season-by-season plan.
Snow Blower Maintenance Checklist: Seasonal and Usage-Based Schedule
A snow blower maintenance checklist works best when it follows both the seasons and the machine type. Your equipment sits idle most of the year, so timing matters more than mileage, but a single-stage unit and a two-stage unit do not wear the same way.
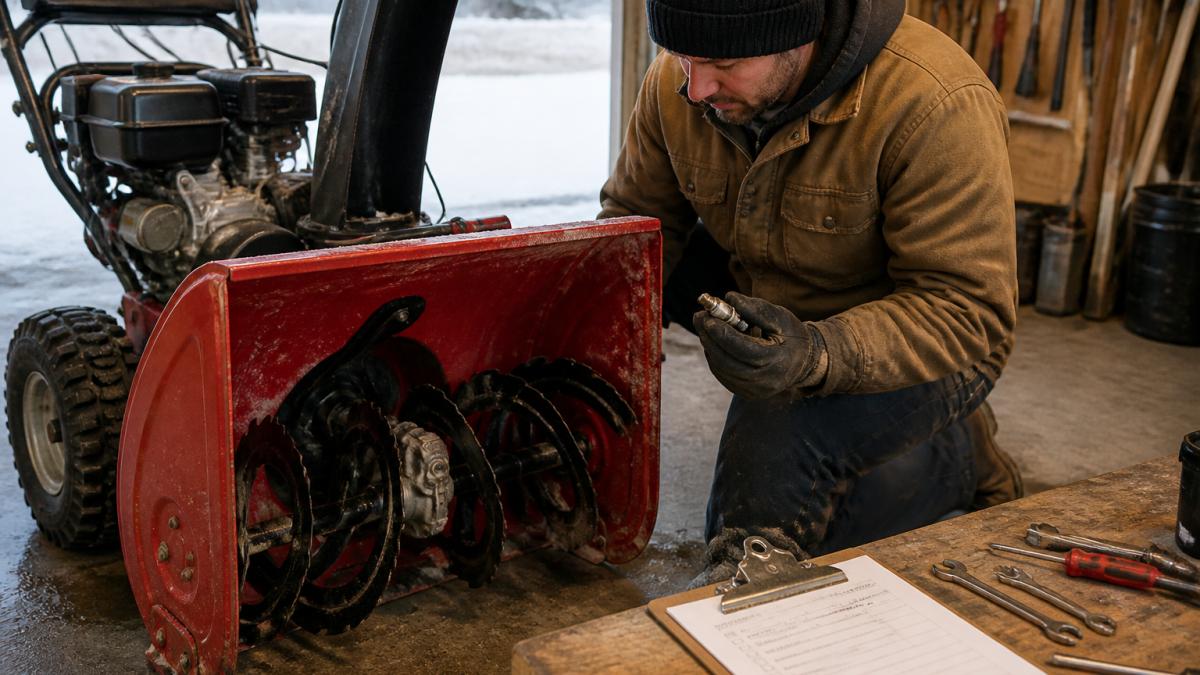
Pre-Season Checklist (Before First Snow)
- Drain old fuel and refill with fresh gasoline
- Check the oil level and top up if needed
- Inspect the spark plug and replace if fouled
Mid-Season Checks (Every 10-15 Hours)
- Top up fuel with fresh gas
- Check oil before each long session
- Clear snow and ice from the chute
End-of-Season Checklist
- Run the engine until the fuel line empties
- Change the oil
- Remove and clean the spark plug
Model-Specific Differences: Single-Stage vs. Two-Stage vs. Electric-Start
Applying the wrong maintenance steps causes avoidable damage. Use this guide before you start.
| Machine Type | Key Maintenance Difference | Common Mistake |
|---|---|---|
| Single-stage (paddle) | No shear pins; rubber paddles wear and need replacement | Treating paddles like steel augers and ignoring wear |
| Two-stage (auger + impeller) | Shear pins, gearbox oil, and separate auger/traction belts | Forgetting gearbox oil; snapping a shear pin and continuing to run |
| Electric-start | Battery charge, starter solenoid, and cord condition | Leaving the battery discharged all summer; corroded terminals |
Electric-start models add a battery and solenoid. A battery that sits discharged through the off-season will not recover fully, and corroded terminals mimic a dead starter.
| Stage | When | Key Tasks |
|---|---|---|
| Pre-season | Before first snow | Fresh fuel, oil check, spark plug, belts, shear pins |
| Mid-season | Every 10-15 hours | Fuel top-up, oil check, clear chute, grease fittings |
| End-of-season | After last snowfall | Drain fuel, oil change, clean plug, fog cylinder |
If you only do one thing, do the end-of-season fuel drain; it prevents more carburetor failures than any other single step.
Fuel Selection and Snow Blower Fuel Storage
Snow blower fuel storage is where most engines quietly die. Gasoline starts to break down after about 30 days. Leave it in the tank all summer and it turns into a gummy varnish that clogs the fuel system.
Use fresh gasoline with the lowest ethanol content you can find. Ethanol absorbs water from the air, and water in a fuel line means rust, corrosion, and a machine that will not fire.
Ethanol Risks and Fuel Stabilizer Use
Ethanol-blended fuel pulls moisture into the tank, corroding metal parts and separating in cold weather. Stabilizer slows this, but it does not make old gas new again.
If fuel has sat more than a month, drain it. Add stabilizer to any gas you store, and run the engine long enough to push treated fuel through the carburetor.
Snow Blower Oil Change: Intervals and Steps
A snow blower oil change should happen at least once a year, and again after the first five hours on a new machine. Oil breaks down even when the engine is not running, so a machine that sat all summer still needs fresh oil before winter.
Here is how to do it:
- Run the engine for a few minutes to warm the oil.
- Place the machine on a level surface.
- Remove the drain plug and let the old oil flow out.
- Replace the plug and refill with the grade listed in your manual.
- Check the level with the dipstick and top up as needed.
Skip this and you risk metal-on-metal wear, overheating, and a seized engine. The Outdoor Power Equipment Institute's guidance on small engine maintenance covers why oil condition matters more than most owners realize.
Common Causes of Starting Problems and Carburetor Clogs
A clogged carburetor is the number one reason a snow blower won't start. The tiny jets inside are built for clean fuel; let old gas sit in them and they gum up, cutting off fuel delivery.
Other common causes of starting problems include:
- A fouled or worn spark plug
- Old fuel that will not ignite
- A clogged fuel filter or line
Spark Plug and Compression Checks
Pull the spark plug and look at it. A healthy plug is light brown. A black, wet plug means too much fuel. A white one means the engine is running hot. Replace a fouled plug and check the gap.
Compression is harder to test at home, but a machine that turns over weakly may have worn rings or a bad valve, a job for a professional.
When Your Snow Blower Won't Start: Quick Troubleshooting Steps
When your snow blower won't start, work through the basics in order. Most no-start problems trace back to fuel or spark, and both are quick to check.
Follow these steps:
- Check the fuel level. Refill with fresh gas if it is low or old.
- Inspect the spark plug. Clean or replace it, then reconnect the boot.
- Check the fuel line. Look for clogs, cracks, or a closed shut-off valve.
- Test the starter. If the cord pulls freely with no resistance, you may have a compression issue.
- Clear the chute and auger. Snow, ice, or rocks can jam the machine and stop it from turning.
If none of that works, the carburetor likely needs a proper cleaning: remove it, soak the parts in carburetor cleaner, and clear every jet.
Safety matters here. The Canadian Centre for Occupational Health and Safety guidance on powered equipment is a good reference for safe handling.
Early Warning Signs of Engine Failure and Safety Precautions
Early warning signs give you time to act before a full breakdown. The key is knowing what each symptom points to and how urgently to act.
Symptom-to-Action Escalation Guide
| Symptom | Likely Cause | Urgency | Action |
|---|---|---|---|
| Hard starting that worsens over time | Fouled plug, weak spark, or clogged carburetor jet | Moderate | Replace plug; clean carburetor if it persists |
| Blue smoke from exhaust | Oil burning past worn rings or valve guides | High | Stop use; have compression tested |
| Black smoke from exhaust | Rich fuel mixture or clogged air filter | Moderate | Clean or replace air filter; check choke operation |
| Rough, surging idle | Lean fuel mixture from a partially clogged jet | Moderate | Carburetor cleaning |
| Milky or fuel-smelling oil | Coolant or fuel contaminating the crankcase | High | Stop use; change oil and find the source |
| Knocking or rattling under load | Worn bearings, loose hardware, or detonation | High | Stop use; professional inspection |
| Sudden power loss under load | Restricted fuel flow, failing ignition, or low compression | High | Stop use; diagnose before next snowfall |
Any one of these points to a problem worth fixing now; two or more, and you should have the machine looked at before the next snowfall. A single hard start on a cold morning is normal, but hard starting that worsens each use is a trend, and trends end in breakdowns.
When to Repair, Replace, or Call a Professional
Not every fault belongs in your garage. Use this rough guide:
- DIY-friendly: spark plug replacement, oil change, air filter cleaning, fuel drain, shear pin replacement, belt adjustment.
- Borderline: carburetor removal and cleaning, battery replacement, auger paddle replacement on single-stage units.
- Professional: compression testing, valve adjustment, gearbox disassembly, ignition coil replacement, anything requiring the engine to be split.
A carburetor clean on an otherwise sound machine is often worth a service call. Major compression or valve work on a machine over a decade old often is not, especially if the auger gearbox or drive system is also worn. Ask for a compression reading before authorizing internal engine work; it tells you whether the engine is worth saving.
Safety Precautions During Inspection and Repair
Safety comes first during any inspection. Before you touch the machine:
- Shut off the engine and remove the key if equipped.
- Disconnect the spark plug boot and position it away from the plug so the engine cannot fire.
- Let the engine cool before working near the muffler or fuel system.
- Never clear a jammed chute or auger with your hands. Use a clean-out tool or a stick, and keep the machine off until it is fully clear.
- Work on a level surface with the machine stable and the wheels chocked.
- Keep fuel away from hot surfaces and never refuel a running or hot engine.
The auger can rotate unexpectedly even with the engine off if the impeller is under tension from packed snow. That stored energy is why the clean-out tool exists and why hands never go into the housing. The Canadian Centre for Occupational Health and Safety guidance on powered equipment is a good reference for safe handling of powered machinery.
Conclusion: Protect Your Investment with Preventive Care
A snow blower that fails in a blizzard costs you time, money, and a cleared driveway you needed hours ago. The fix is not complicated. Fresh fuel, regular oil changes, a clean carburetor, and a seasonal schedule keep most machines running for years.
If you would rather not handle it yourself, DHC offers expert small engine repairs and preventative maintenance for snow blowers, lawn mowers, and ATVs. Our team comes to you and stands behind every job.
Frequently Asked Questions
What are the most common problems with snow blowers?
The most frequent issues are stale fuel clogging the carburetor, a fouled spark plug, and low or dirty engine oil. Fuel left in the tank over summer breaks down and leaves gum deposits that block fuel delivery. A worn spark plug prevents ignition, while old oil loses its lubricating properties and accelerates wear. Regular snow blower maintenance, including fresh fuel and annual oil changes, prevents most of these problems.
How often should you change the oil in a snow blower?
Change the oil after the first 5 hours of use on a new machine, then every 20 to 50 hours or at least once per season. If you run the snow blower heavily, change it mid-season as well. Check the oil level before each use and top up with the grade specified in your manual. Dirty oil is a leading cause of snow blower engine failure, so treat the snow blower oil change as non-negotiable.
How do you prevent a snow blower engine from failing?
Preventing snow blower engine failure comes down to four habits: use fresh fuel with stabilizer, change the oil on schedule, replace the spark plug annually, and store the machine properly in the off-season. A snow blower maintenance checklist by season keeps these tasks on track. Also inspect for early warning signs like hard starting, unusual noise, or blue exhaust smoke, and address them before they become breakdowns.
Why does a snow blower engine start and then stop?
An engine that fires then dies usually points to a fuel delivery problem. A partially clogged carburetor jet starves the engine once the initial fuel in the bowl runs out. A dirty fuel cap vent, stale fuel, or a failing fuel filter can cause the same symptom. Cleaning the carburetor, draining old fuel, and refilling with fresh gasoline plus stabilizer typically resolves it. If the problem persists, a compression check may reveal deeper wear.